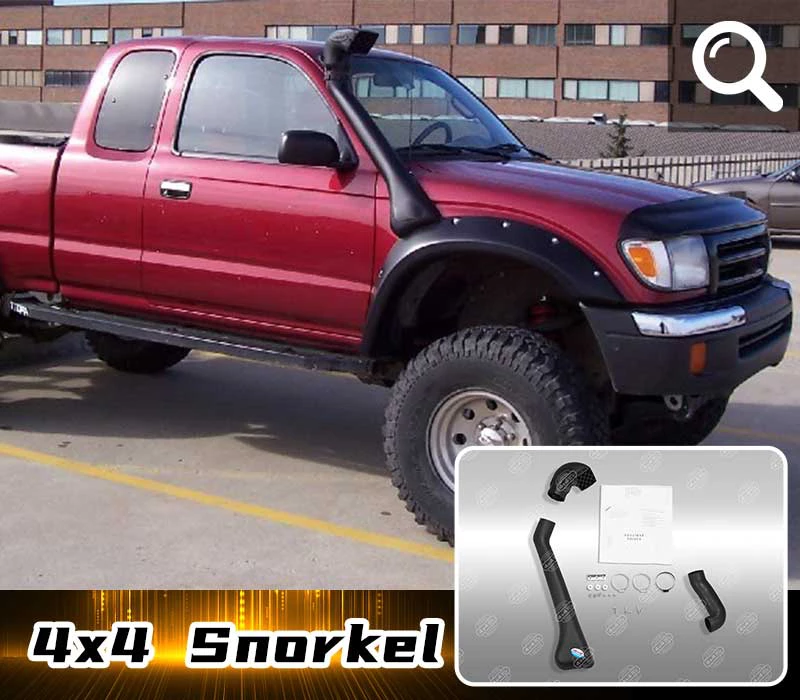
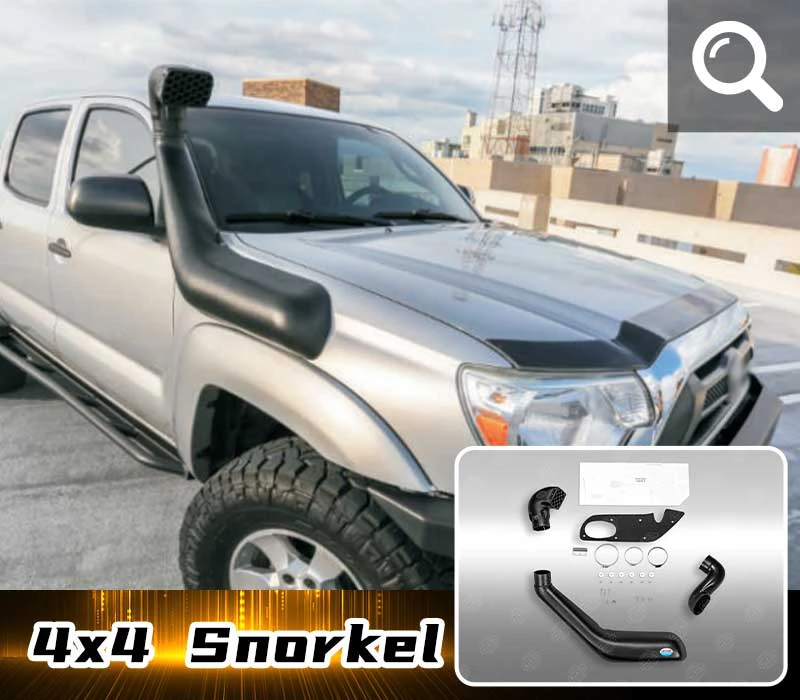
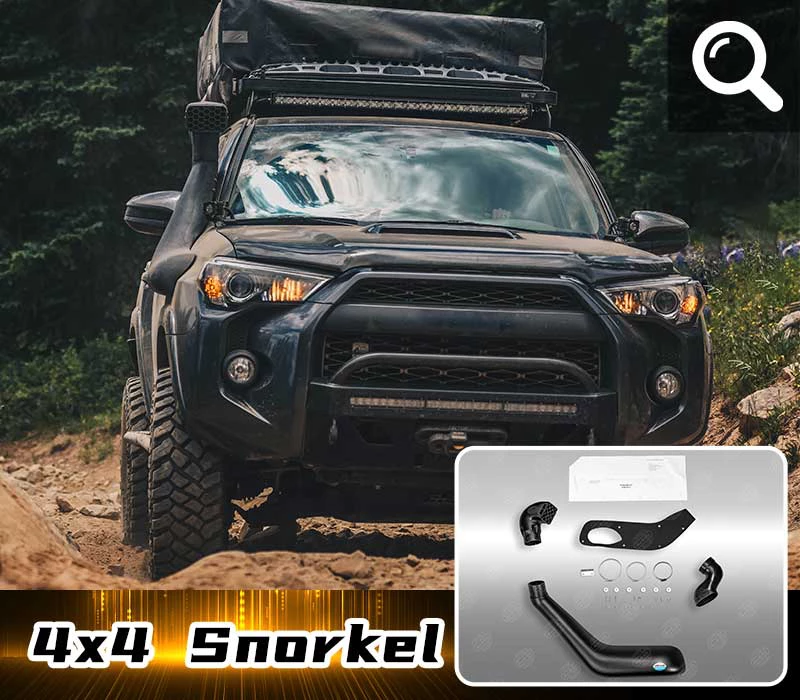
Snorkel Installation Guide
Overcoming the Fear of Cutting Your Fender
The sound of a 4-inch hole saw hitting your pristine paintwork is terrifying. But with the right preparation and rust prevention techniques, installing a snorkel is safe, secure, and permanent.
There is a moment in every DIY snorkel installation that separates the beginners from the committed: The Point of No Return.
You have the template taped to the fender. You have the center punch in your hand. You know that once you drill that first pilot hole, there is no going back. This anxiety is normal. Most 4x4 owners worry about two things: "Will I ruin the resale value?" and "Will the cut edge rust out in 3 years?"
In this guide, we walk you through the professional protocols to ensure your cut is clean, sealed, and rust-proof forever.
1. The Cut: Tools & Technique
Using the right tool minimizes heat and damage to the surrounding paint.
1
Tape it Up: Cover the entire fender area with multiple layers of masking tape (Painter's Tape). This prevents the saw from slipping and scratching the paint and stops hot metal shavings from melting into the clear coat.
2
The Pilot Hole: Always start with a small 3mm pilot hole. Double-check your template alignment after the pilot hole but before the big cut.
3
Hole Saw vs. Nibbler:
- Bi-Metal Hole Saw: Fast and clean, but generates heat. Go slow and use cutting fluid.
- Air Nibbler: Professional choice. "Eats" the metal without heat, leaving a clean edge, but requires an air compressor.
- Step Drill: Great for the bolt holes, but too small for the main intake hole.
2. Rust Prevention Protocol (Crucial)
The biggest mistake DIYers make is bolting the snorkel on immediately after drilling. This guarantees rust. You have just exposed bare steel to the elements. You must treat the wound.
Step 1: Deburring
Use a half-round file or a deburring tool to remove the sharp, jagged metal shards from the edge of the hole. Paint will not stick to a sharp edge.
Step 2: Paint/Primer
Apply a high-quality Rust Inhibitor or metal primer to the bare metal edge. A small touch-up brush or a cotton swab works best. Let it dry completely.
Step 3: Silicone Seal
Apply a bead of silicone around the hole before inserting the snorkel body. This creates a watertight gasket.
⚠️ CRITICAL WARNING: Use the Right Silicone
NEVER use Acid Cure Silicone (often smells like vinegar). The acetic acid released during curing will eat into the bare metal and cause rust faster than water would.
ALWAYS use Neutral Cure Silicone (often labeled as "Roof & Gutter" or "Sensor Safe"). This is safe for painted and bare metal surfaces.
3. Is it Reversible? (The Resale Question)
The short answer is: No.
[Image Placeholder: Diagram of Fender Cutout - The "Point of No Return"]
Once you cut the hole, you cannot simply remove the snorkel and plug it. If you decide to sell the vehicle and the buyer wants a "stock" look, your only option is to replace the entire front fender panel.
However, in the off-road market, a high-quality name-brand snorkel (like Safari or ARB) is generally seen as a value-add, not a detriment. A cheap, faded eBay snorkel, however, may lower the vehicle's value.
4. Rookie Mistakes to Avoid
- Ignoring the Inner Guard: Sometimes there are structural supports or windshield washer bottles behind the fender. Check what is behind the panel before you drill.
- Drilling the A-Pillar Wrong: The bracket that attaches to your windshield pillar requires small holes. Be extremely careful not to drill too deep and hit the windshield glass edge.
- Forgetting the Loctite: The vibration of a diesel engine can rattle the snorkel bolts loose. Always use blue Loctite (thread locker) on the mounting studs.
Pro Tip: When marking the holes with the template, use a Felt Tip Marker, then remove the template to double-check the visual alignment. Does it look straight? Sometimes templates can be printed slightly skewed. Trust your eyes.
Too Scared to Drill?
We have a network of approved professional installers who can handle the cutting for you.
Find an Installer Near Me